

Active Painting Tips Posts

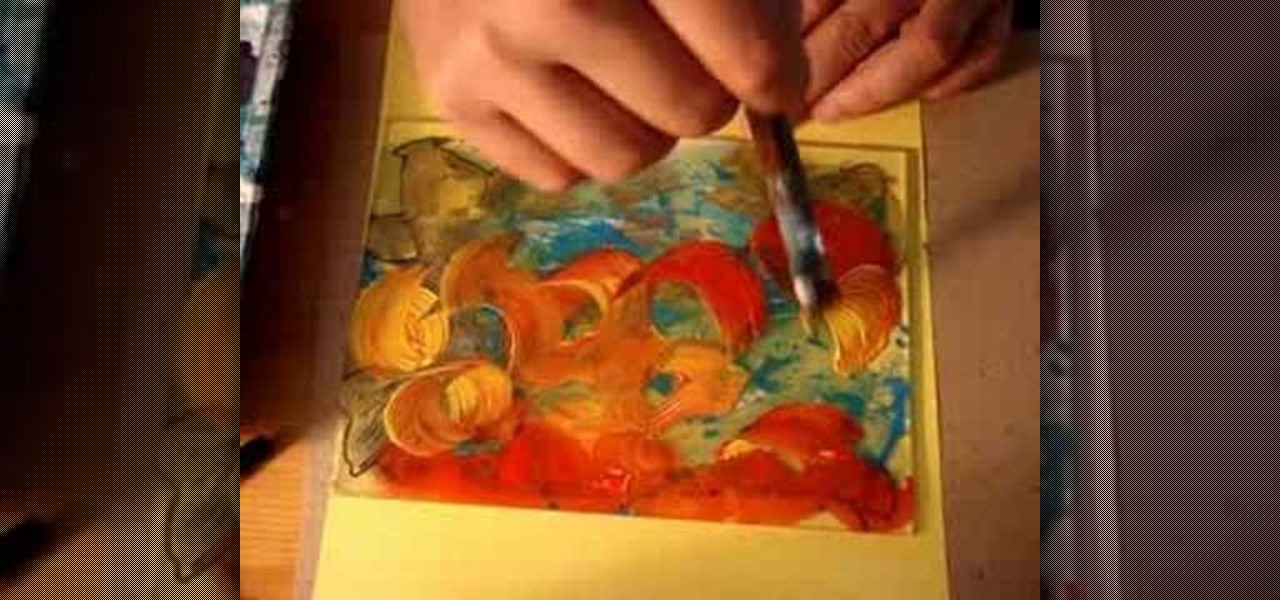
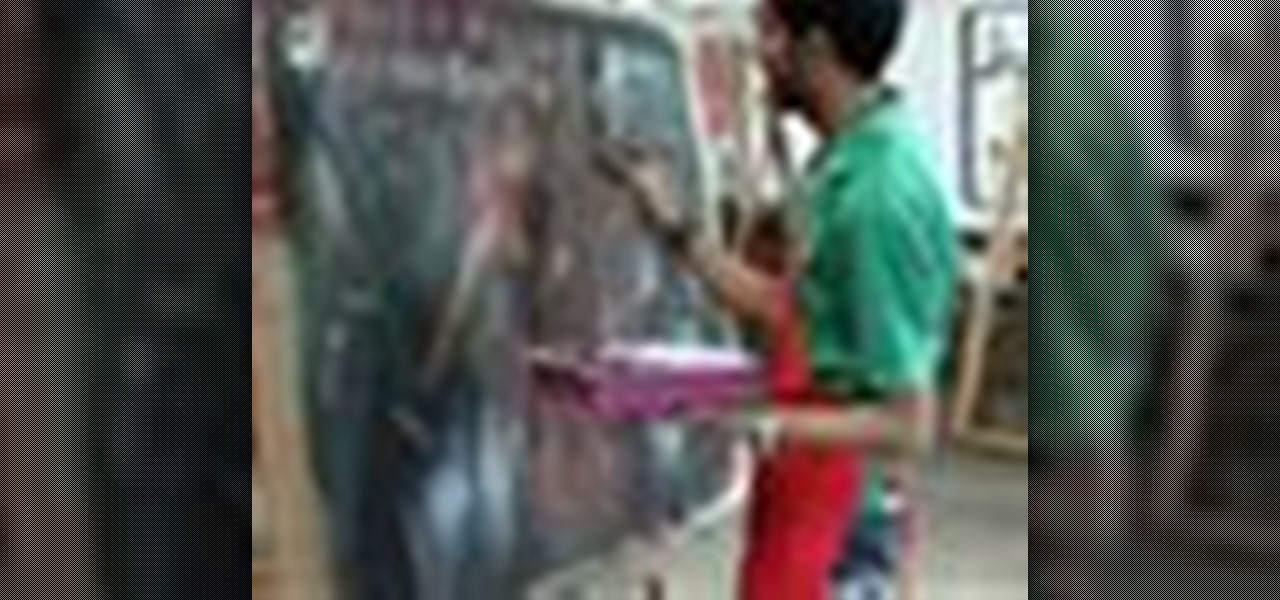
How To: Paint on plexiglass
Watch this instructional painting video to begin painting on plexiglass. Create some cool effects using spray paint, paint thinner, acrylic paint. Make marks and unique textures using your finger, scratching tools and stencils.
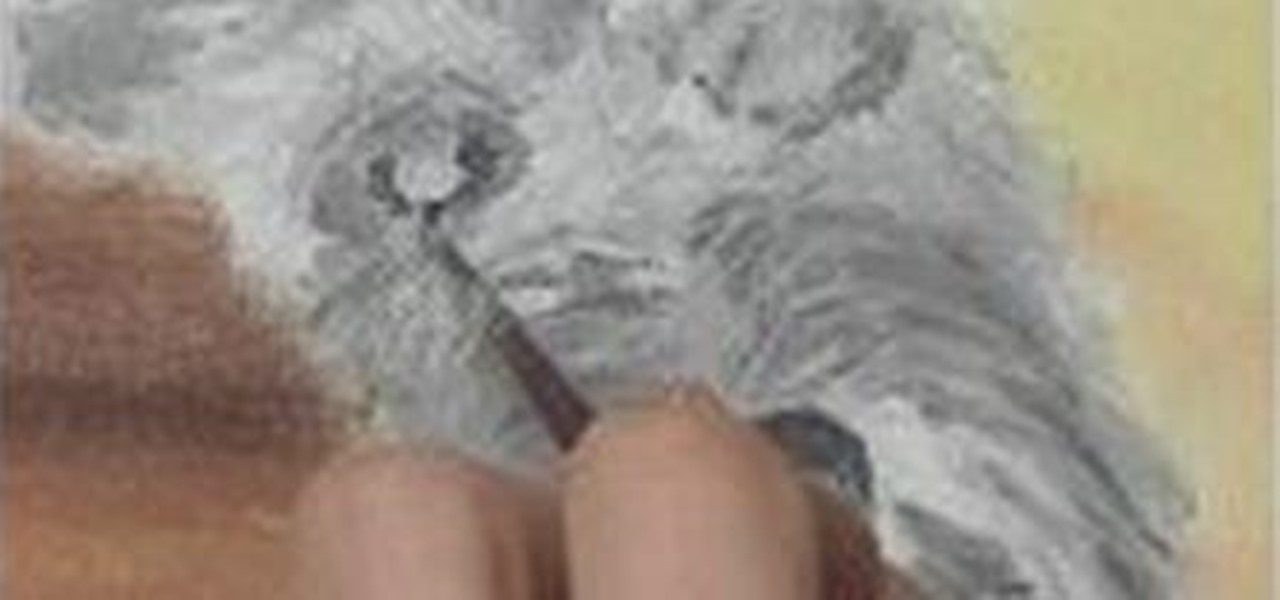
How To: Paint a Pet Portrait
If you want to capture your pet in an oil-based portrait, this video series will help guide you along the way as you paint your animal masterpiece. In the video below, get started by learning about all of the supplies you'll need for drawing pet portraits. To see the other videos in this series, make sure to hit up the link below the video.
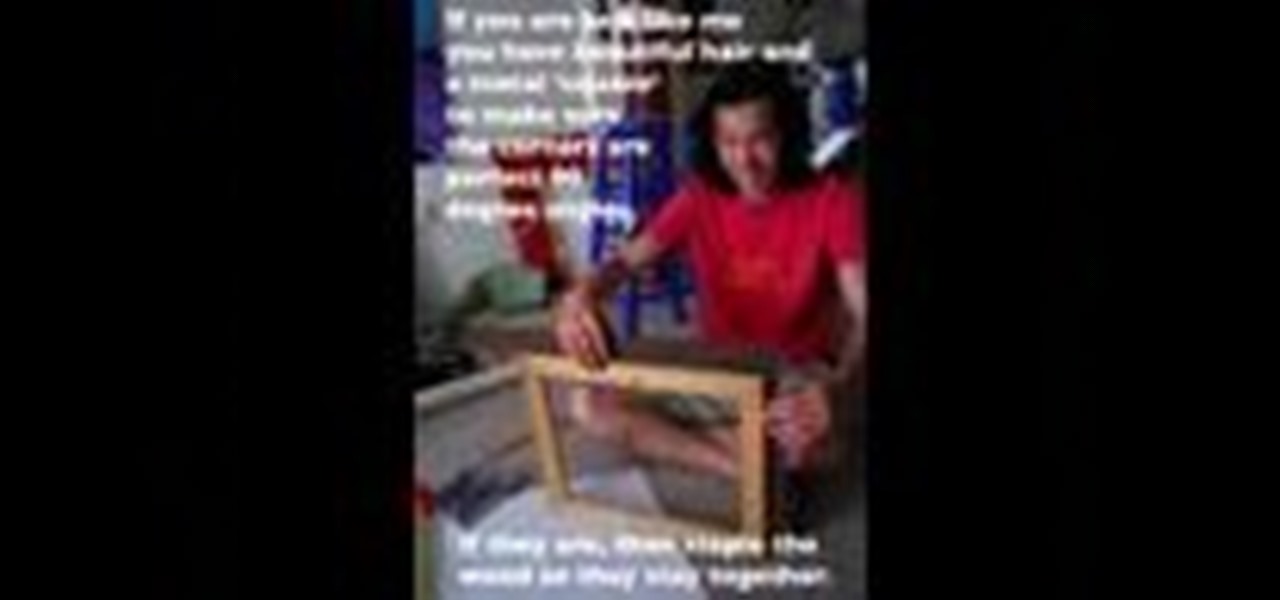
How To: Build a simple float frame for your painting
Building a frame for your paintings can save you money and provide one more creation of which to be proud. Normally recommended for abstract paintings, basic float frames offer a professional feel to your art. This video demonstrates how to build a very simple float frame, which compliments a modern, contemporary, abstract painting rather nicely.
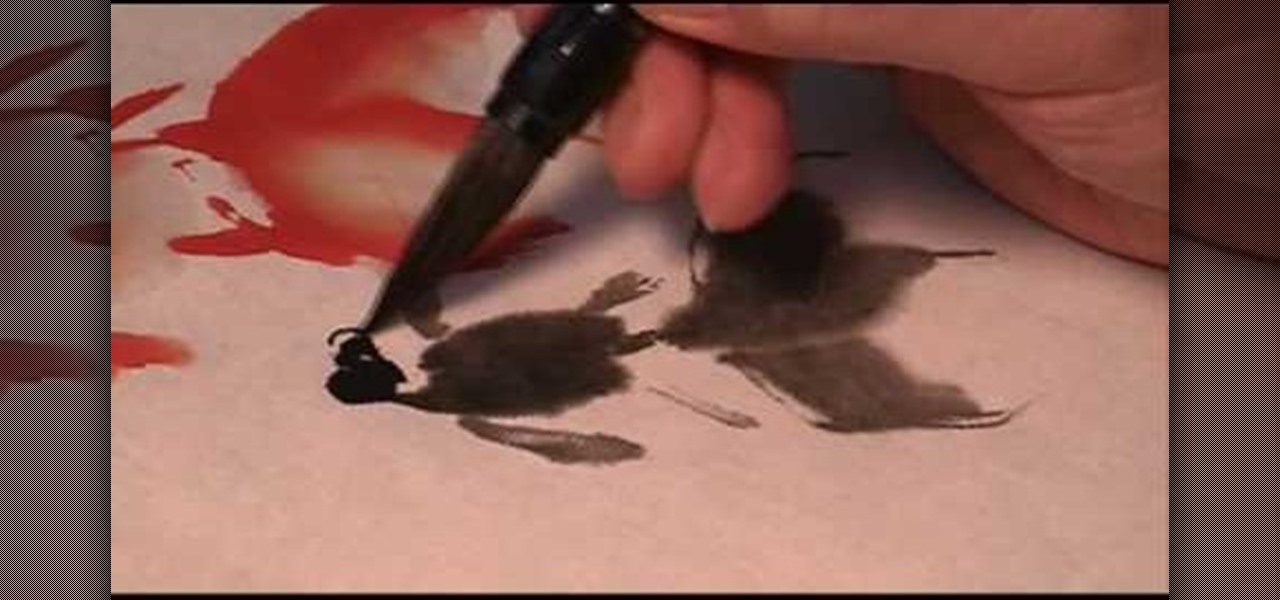
How To: Do basic brushstrokes in Chinese painting using Sumi ink
You can paint just about anything you want in Chinese watercolor painting, but whether you're sketching out a fish or a crocodile, there exists a basic array of brushstrokes that you will use for any object.

News: Artist Kills Himself (No Big Surprise... Once You See His Paintings)
At age 32, Tetsuya Ishida apparently threw himself in front of a speeding train. No huge surprise given his exceedingly twisted paintings. To us, he seems to possess a certain internet sensibility. Precisely executed, bizarre, and dark in theme. We dig him.
News: DON'T Believe Your Eyes- This Isn't a Photograph
If you were impressed by the previously featured Pedro Campos, then check out these photorealistic acrylic paintings by Campos' equally apt colleague, Tom Martin. Mind-blowing.
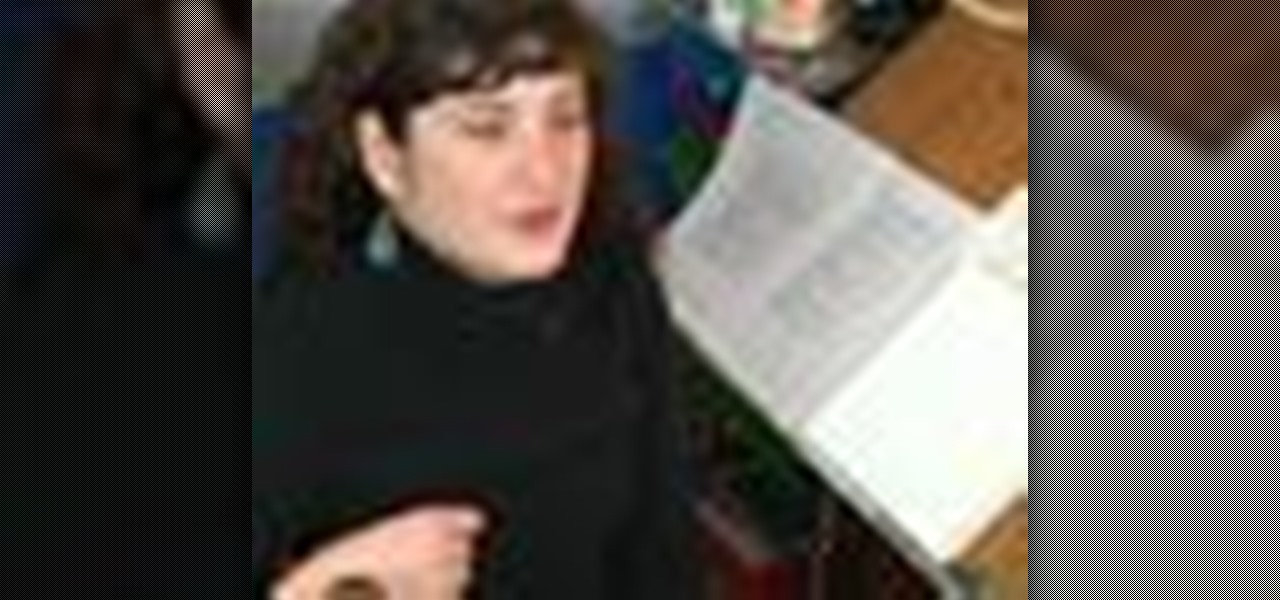
How To: Do portrait painting using color as value
Sessions Online School of Fine Arts brings you this tutorial video on painting. Search WonderHowTo for Sessions Online School of Fine Arts for more art tutorials. This video art lesson demonstrates how to use color as value in the art of portrait painting.
How To: Use acetate sheet to develop watercolor painting
This video teaches the secrets of using acetate sheet to develop watercolor painting. Some tips of using acetate sheet to develop watercolor painting are: Acetate sheets will come to use mainly when painting flowers, nature, birds, animals, etc. (e.g., flower in this video). In this case first finish painting the flower and some easy parts. Now painting the weeds is difficult as you may find it tough to get it in the right area. Now you can place an acetate on top of your painting and draw th...
How To: Paint a Lightsaber and a Poster for Star Wars
In creating the Style D One Sheet movie poster for REVENGE OF THE SITH, Artist Matt Busch begins painting and takes you through the complete process. Learn how to paint a lightsaber from Star Wars by watching this video art tutorial.
How To: Paint a Star Wars Poster with Acrylic Washes and Airbrush
Artist Matt Busch finally begins the color painting process, showing how to lay in your under-painting with acrylic washes. The episode also touches on 'procrastination' (let's face it, a common artist trait) and even covers using an Air-Brush! Learn how to paint Star Wars by watching and following along with this video tutorial.
How To: Paint a Star Wars Poster with Opaque Acrylics
In this hilarious episode, Matt Busch continues the painting process as he pays tribute to the legendary Bob Ross in The Joy of STAR WARS Painting. See how Matt paints with thicker, opaque acrylics, with tips like using a toothbrush to create texture. Learn how to paint Star Wars by watching this video tutorial.
How To: Paint believable rocks
Wilson Bickford teaches us how to paint believable rocks in this tutorial. To begin, you will first start with an easel and several paints. Wet your small paint brush with a mixture of brown and black and paint a rock shape on the paper. You will do this by drawing many lumps and bumps to make it look like a natural rock. Use white paint on the side of the rock to give it a light glare where the sun would naturally hit it. To finish the rock, paint on browns to it, to add a dirt color and mak...

How To: Do Acrylic Painting on Feathers
In this video series, watch as artist Carolyn Travisano teaches how to d acrylic painting on feathers. Learn how to choose the feathers, choose brushes, choose paint, how to get inspiration, how to prepare the paint pallet, how to design a layout, how to fill in colors, how to do stage comparisons, how to work the feathers, how to add detail, how to do shadowing, how to do the finishing spray, and how to mount the feathers.
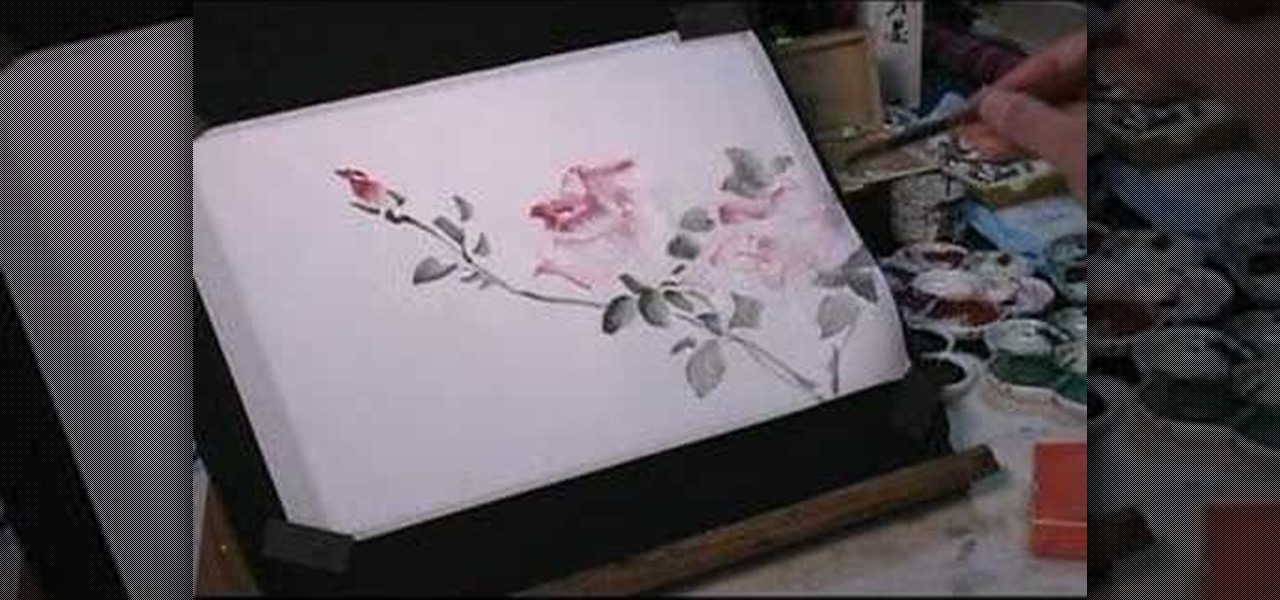
How To: Draw roses on rice paper with watercolor paints
Watch this instructional painting video to paint a rose with watercolors on Chinese rice paper. This fluid style of painting takes lot of practice and does not allow for mistakes. Every brush stroke counts. Get out some newsprint to practice painting these beautiful rose petals.
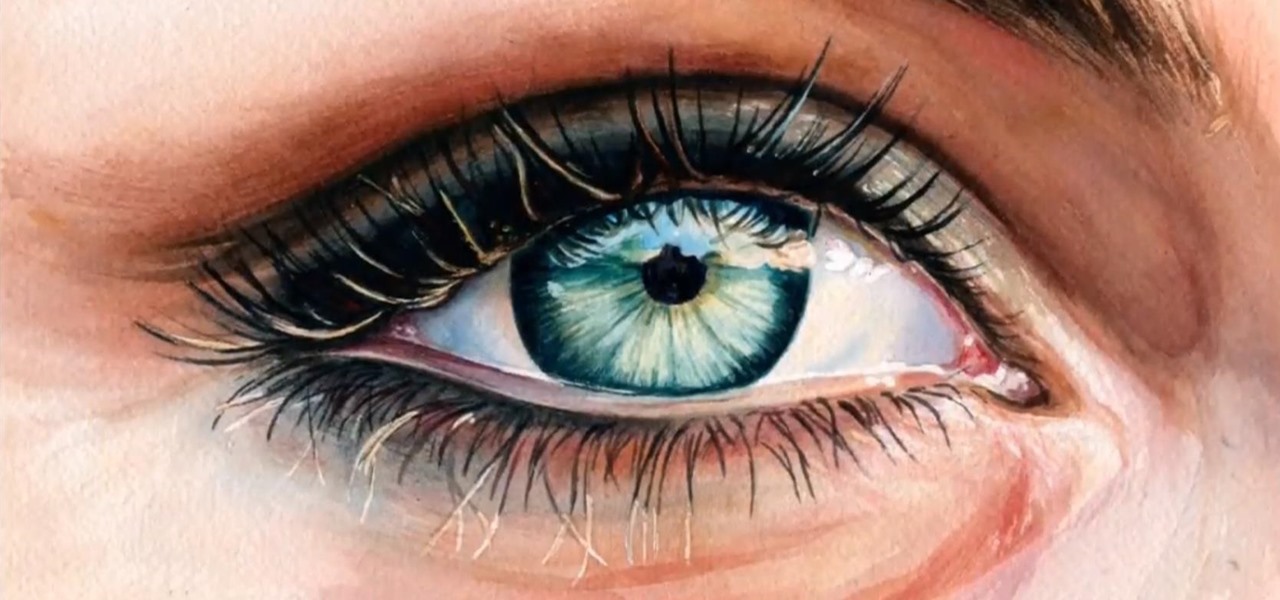
How To: Paint a Realistic Eye with Watercolors
This watercolor tutorial shows beginners how to paint a realistic eye. This video has been sped up 8 times.
How To: Paint the texture of water
Watch this instructional painting video to create a water like effect on the surface of canvas, wood or paper. Use acrylic paint and a spray bottle with some paint thinner. Spray the turpentine onto wet paint and watch the paint separate into shapes that look like the surface of water, splashes and wave patterns.

How To: Paint in a Norwegian folk style called "rosemaling"
In this video, Linnea Rose teaches us how to paint in a Norwegian folk style called "rosemaling". With this, you will double load your brush and do the strokes in the correct way. To double load your brush, first dip one corner into a color, then dip another color into the other color. After this, stroke again in between the two colors. Next, go to your canvas and simply stroke a looped shake on the paper. Firmly press down with your brush and as your curve around you lift it up to the chisel...
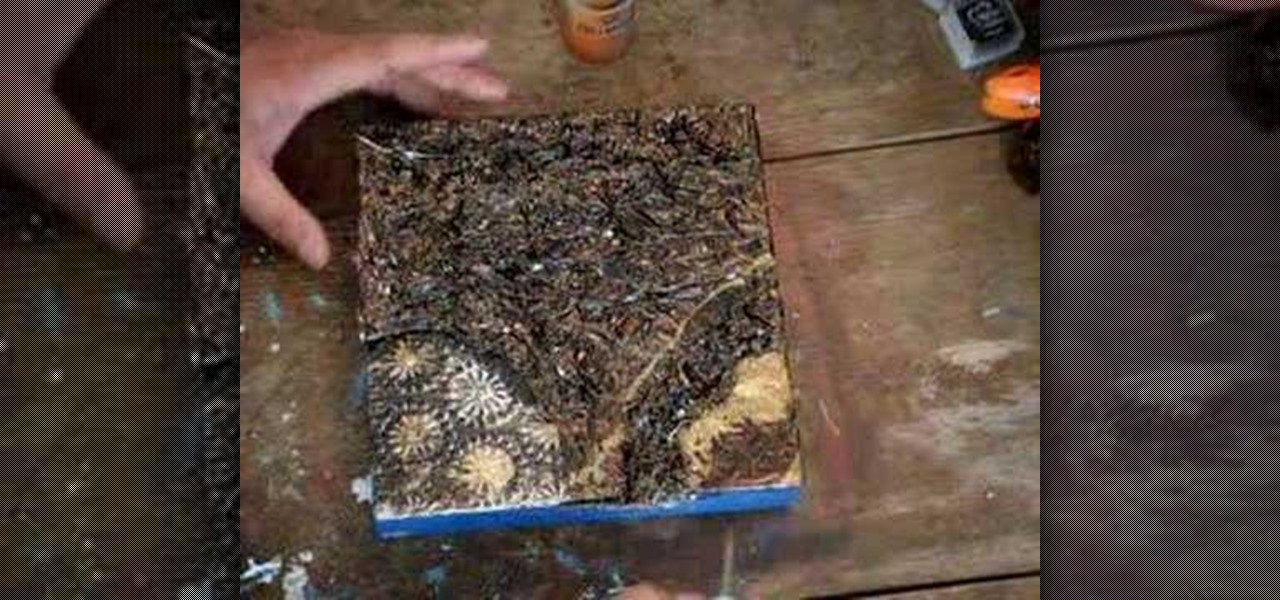
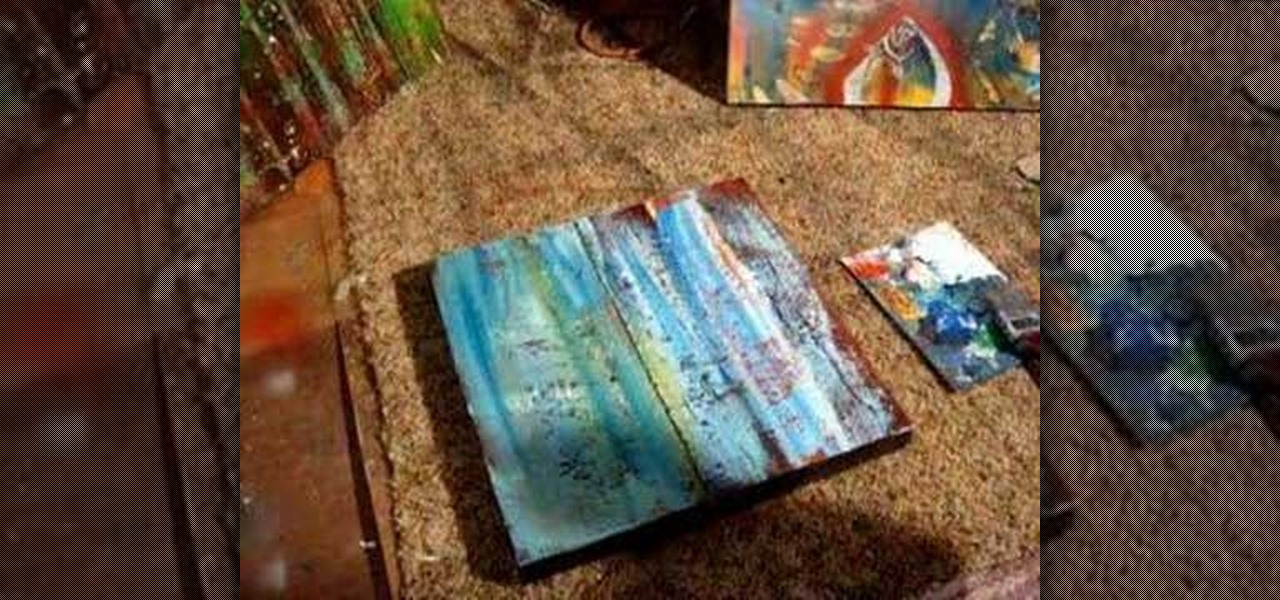
How To: Collage and paint aluminum foil
This video demonstrates how to create an artwork using ordinary aluminum foil from your kitchen. This technique is good for those people who have no inspiration of what to paint but want to be creative. This collage technique is a fun way for beginners to experiment with textures, composition and color. Materials used in this video are aluminum foil, a glue stick, Bitumen (a material used as primer for painting on metal without rusting), collage or textured paper, spray paint, acrylic paint, ...
How To: Airbrush a wolf bike tank
Ed shows us how to airbrush a wolf on a gas tank for a motorcycle.
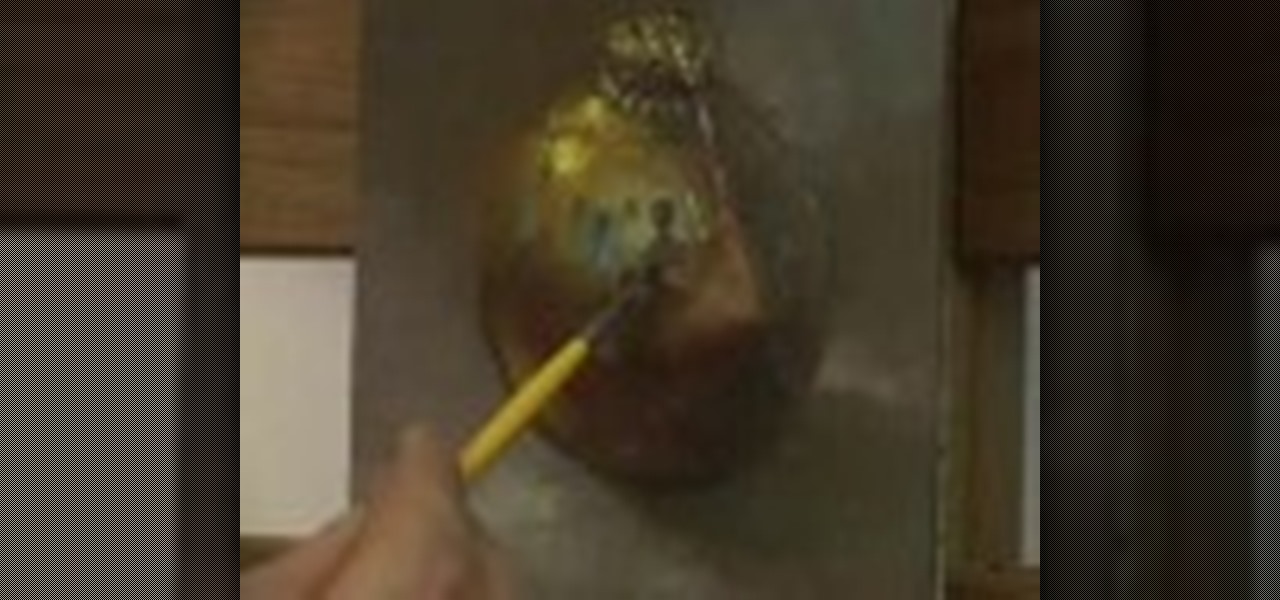
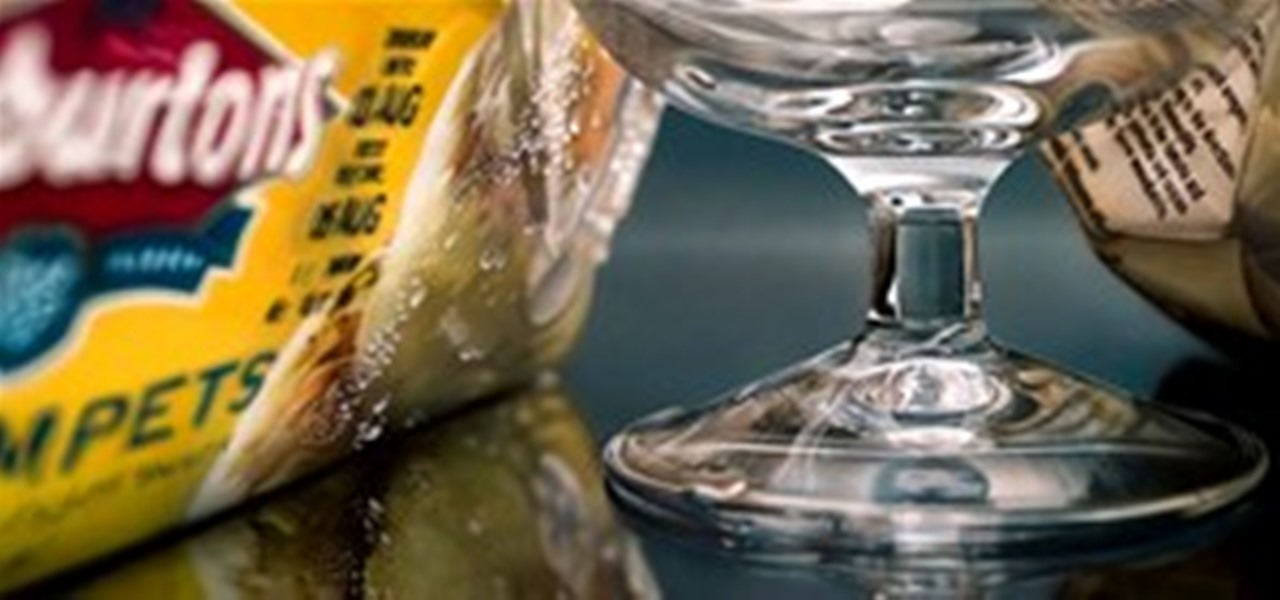
How To: Oil paint metal objects with Hall Groat
In this Painting Metallic Surfaces Hall video tutorial, learn how to paint metal objects with oil paint. This is a good tutorial to learn how to paint metal surfaces so that it looks like real metal. The examples used in this video is the painting of a pocket watch, ornament, teapot, martini glass, and more. To begin, evaluate the colors of the metal object you are painting. Make sure to pick up colors that are reflected and also make sure to pick up images that appear in the reflection of an...

How To: Paint on ceramic dinner plates
In this how-to video, you will learn how to paint on your ceramic dinner plates. You will need a ceramic paint kit, a soft pencil, masking tape, a porcelain painter pen, scrap paper, scissors, scrap paper, tracing paper, Celtic patterns, and a jar of water. Place the tracing paper over the copy of the Celtic patterns. Tape both down to the surface with the tape. Trace the pattern onto the tracing paper using the pencil. Clean the plate and stick tracing paper over the plate. Trace over the pa...
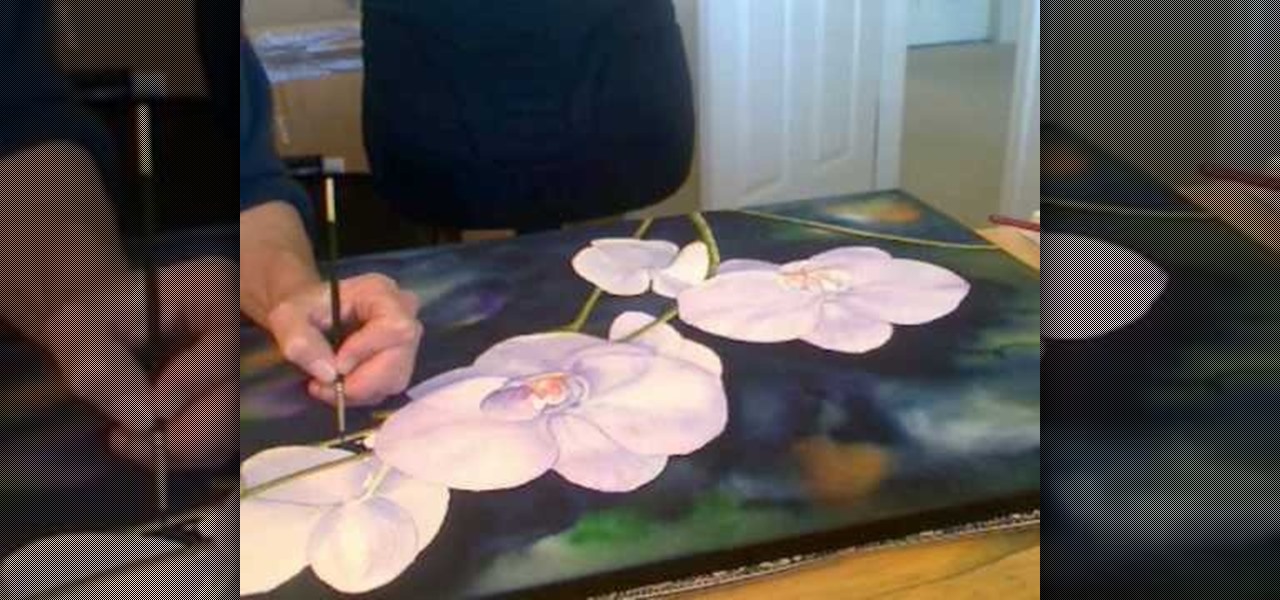
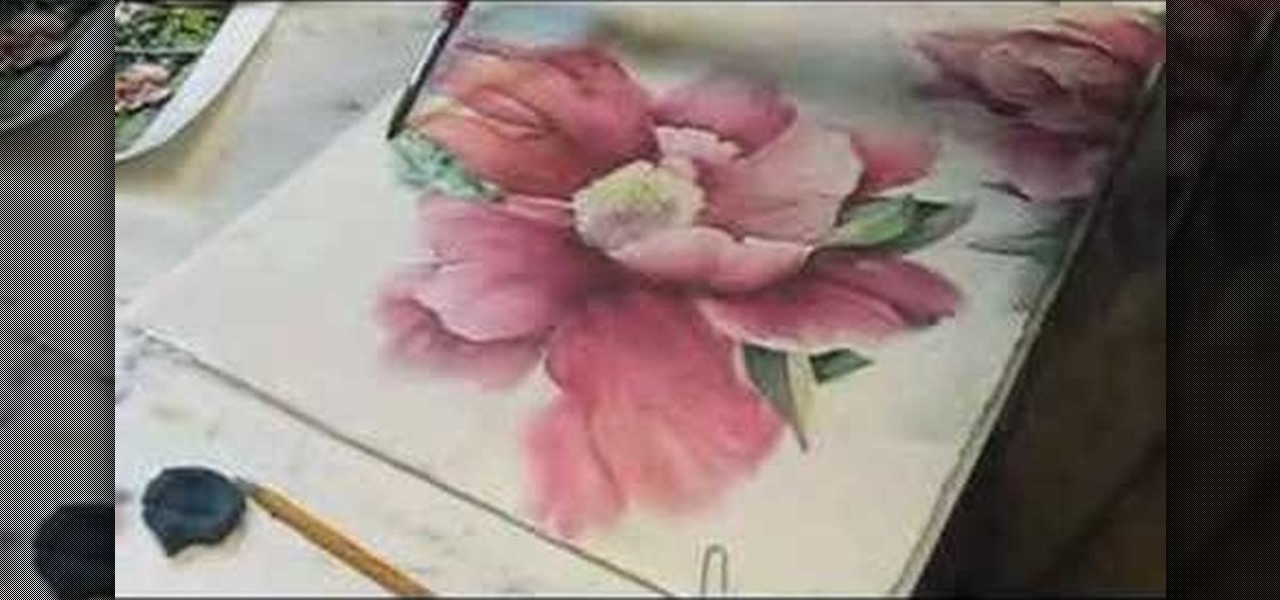
How To: Paint orchid flowers with watercolor paints
In this video, we learn how to pain orchid flowers with watercolor paints. Start out by using a light lilac color on the petals. Use a thin brush to push the colors around on the picture so you have slight shading around the different petals. Use a darker purple color in the middle of the flower. Then, use a yellow color in the very middle. Add in a green leaf and stem on the bottom of the flower. Use a paper towel to smudge any excess moisture or water off of the flower to make it more prist...
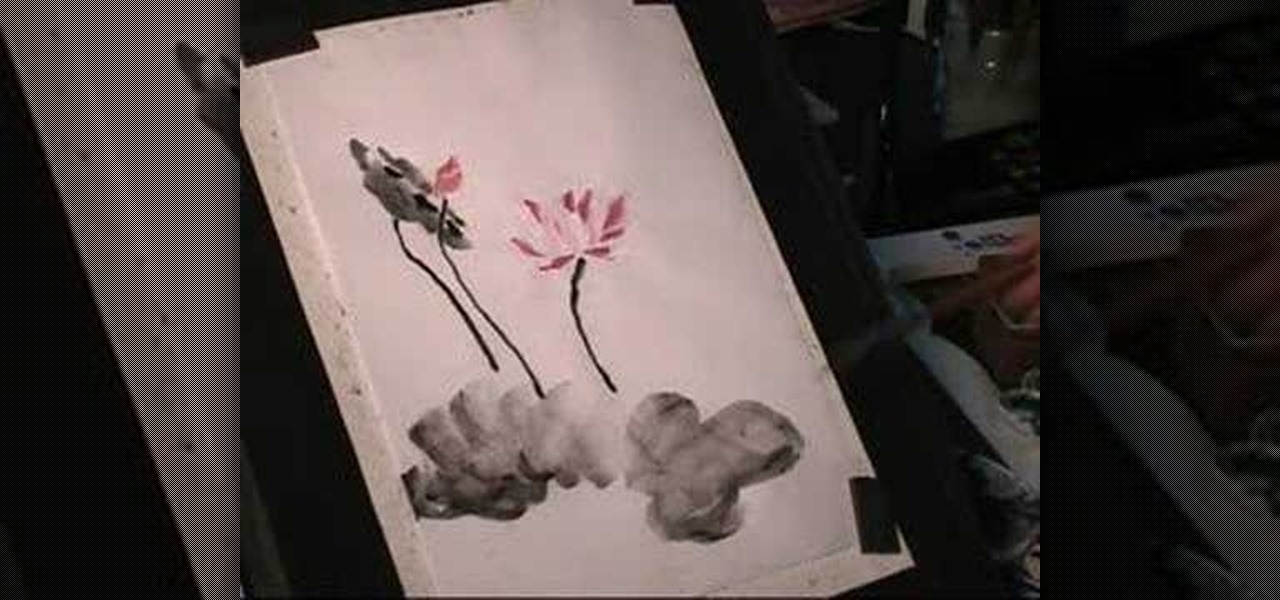
How To: Draw a lotus flower in sumi-e Chinese ink painting
Chinese tradition has always honored lotus flowers. Essentially, the lotus flower represents peace, creativity and purity amid adverse surroundings. This is a perfect subject matter for sumi ink painting. Watch this instructional painting video to practice painting lotus flowers with ink and watercolors.
How To: Paint portraits with acrylic
Acrylic paintings of the human face are a great form of artistic expression. Paint acrylic portraits with tips from an illustrator in this free video series on art and painting.
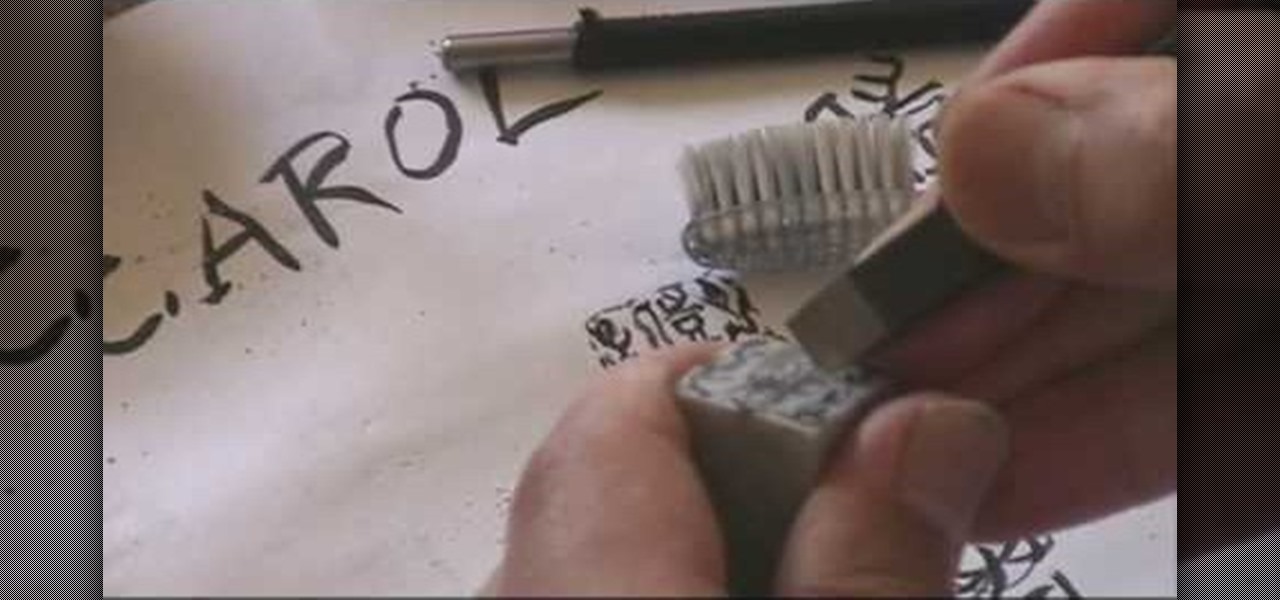
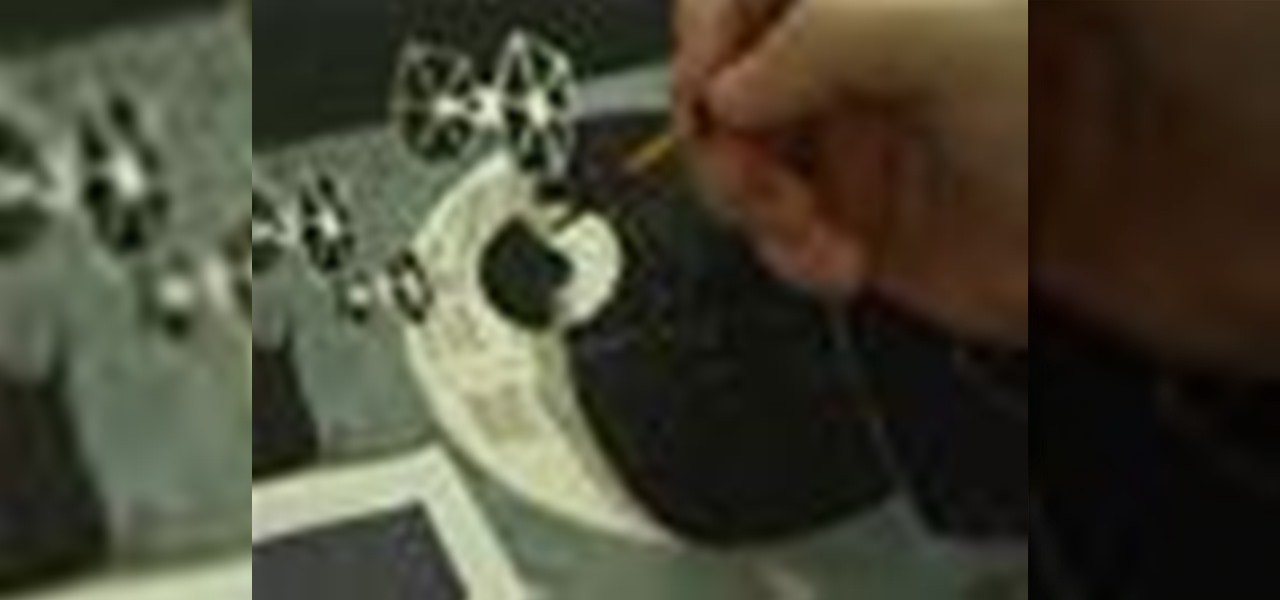
How To: Design and carve a Chinese name chop seal stamp
Any artist who excels enough in his profession will create some sort of signature on his painting to notify other it's his work. Some painters, like Jan van Eyck, are cryptic with their inscriptions, putting it in almost impossible to see areas in the painting, while others, like Chinese painters, put their literal stamp on paintings with a carved seal stamp.
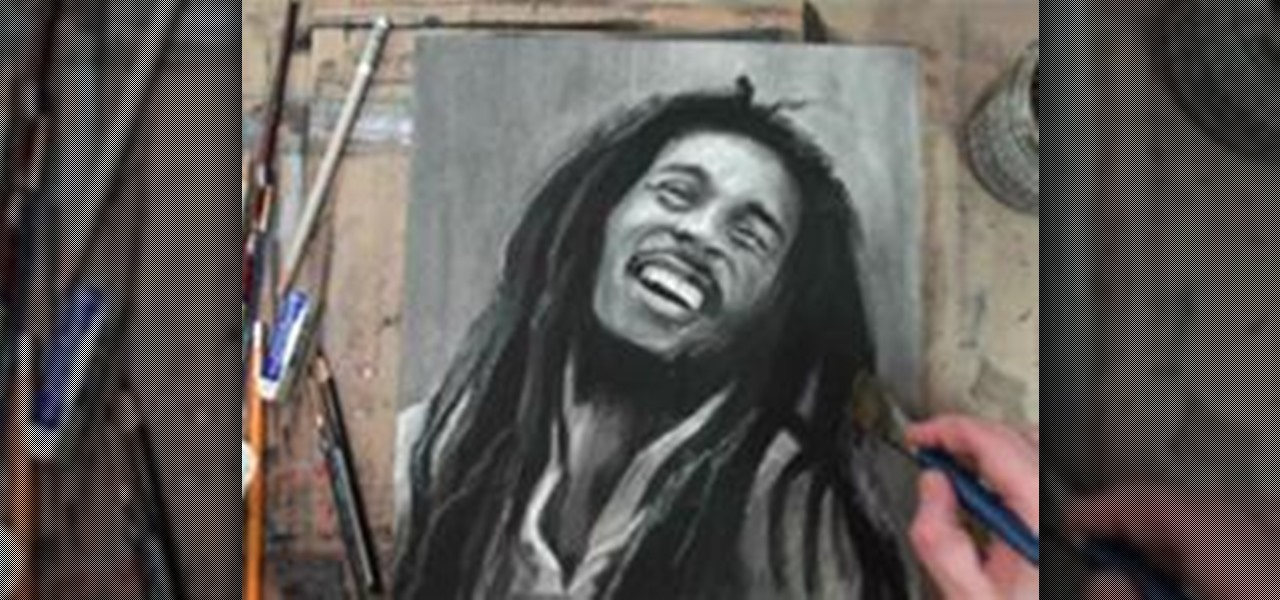
How To: Create a Drybrush Painting of Bob Marley
I usually do step-by-step drawing tutorials, but I found drybrush technique to be fascinating and possibly superior to pencil drawing. Pencils are limited tools because they can only be applied with a point of some sort (with the exception of a graphite stick), while paintbrushes allow artists to think in terms of shapes instead of lines. If you look around the room that you are currently in, I guarantee you that you will not see anything that resembles an edge that a pencil gives you; the wo...
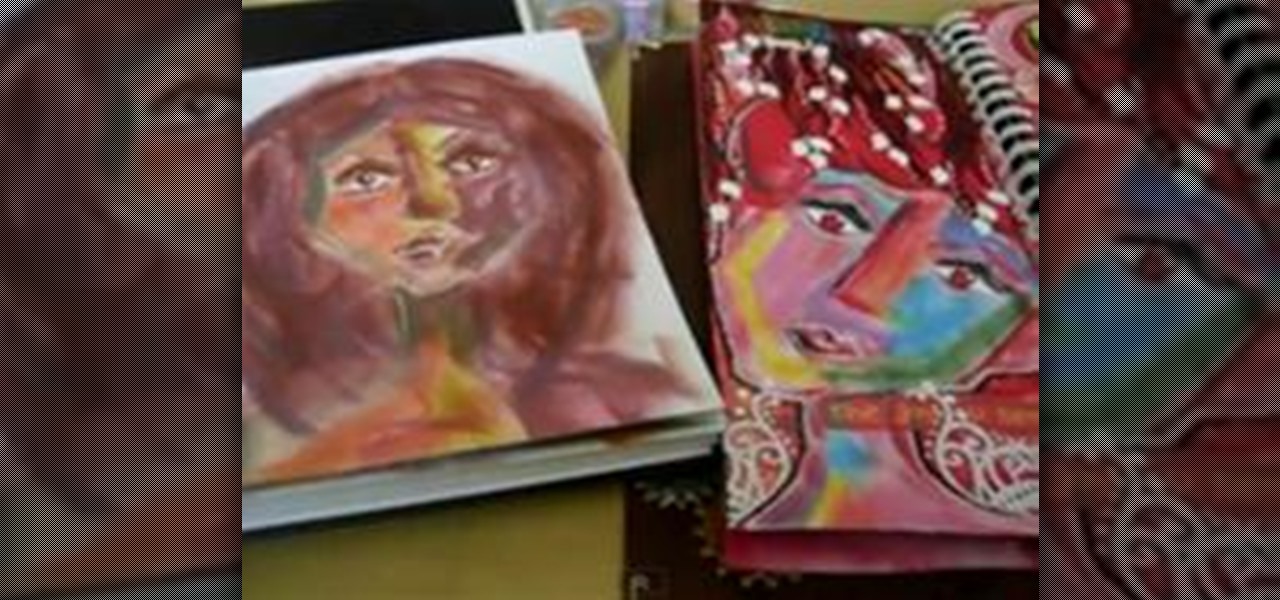
How To: Make Abstract Faces Using Ink Pads
This video shows how to paint abstract-looking faces using ink pads. The ink pads I use are Tsukineko Brillance Ink Pads but there are other brands that do pointy-ended ink pads that will work just as well. They are great for quick and easy faces to use in your art journaling.

How To: Make an airbrush flame layout
Watch this video to learn how make an airbrush flame layout. Make your airbrushing look professional!
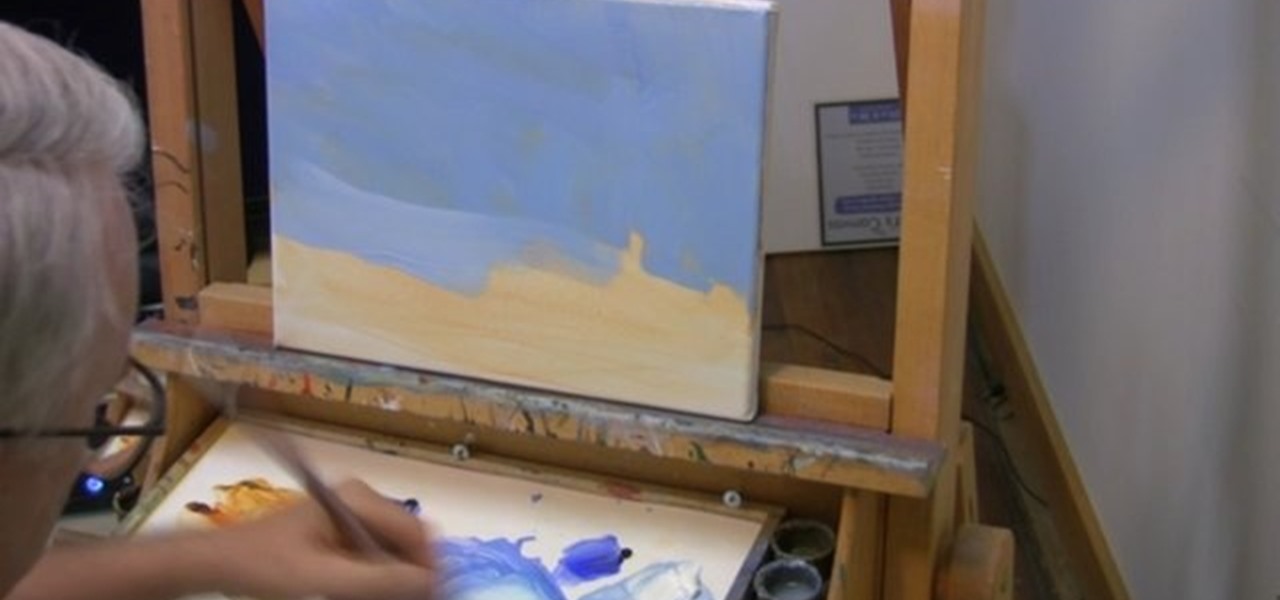
How To: Paint a landscape painting
Unlike many other video painting tutorials which are time lapse speed painting set to music, these lessons will actually teach you how to make a finished painting. These pieces will be small, simple and easy to follow. You may take bits and pieces of these lessons and apply them to your own work or feel free to follow along and create your own version of this painting. Learn how to paint a landscape painting by watching this instructional painting video.
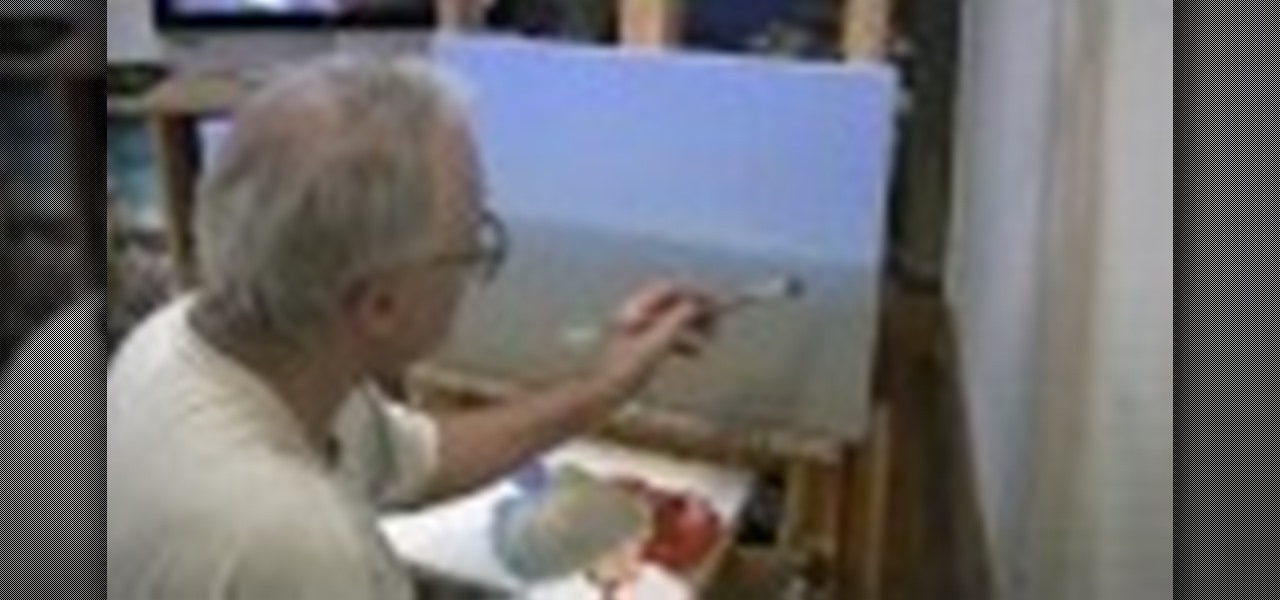
How To: Paint a beached whaler seascape with Jim Ingraham
Painter Jim Ingraham shows the steps of painting a marine landscape in this video tutorial. Watch as a prepared canvas transforms into a seascape, complete with the beach, the ocean, and the sky. Render and mix paints as you go, this technique is not particularly rigid. Watch this video painting tutorial series and learn how to create a seascape.

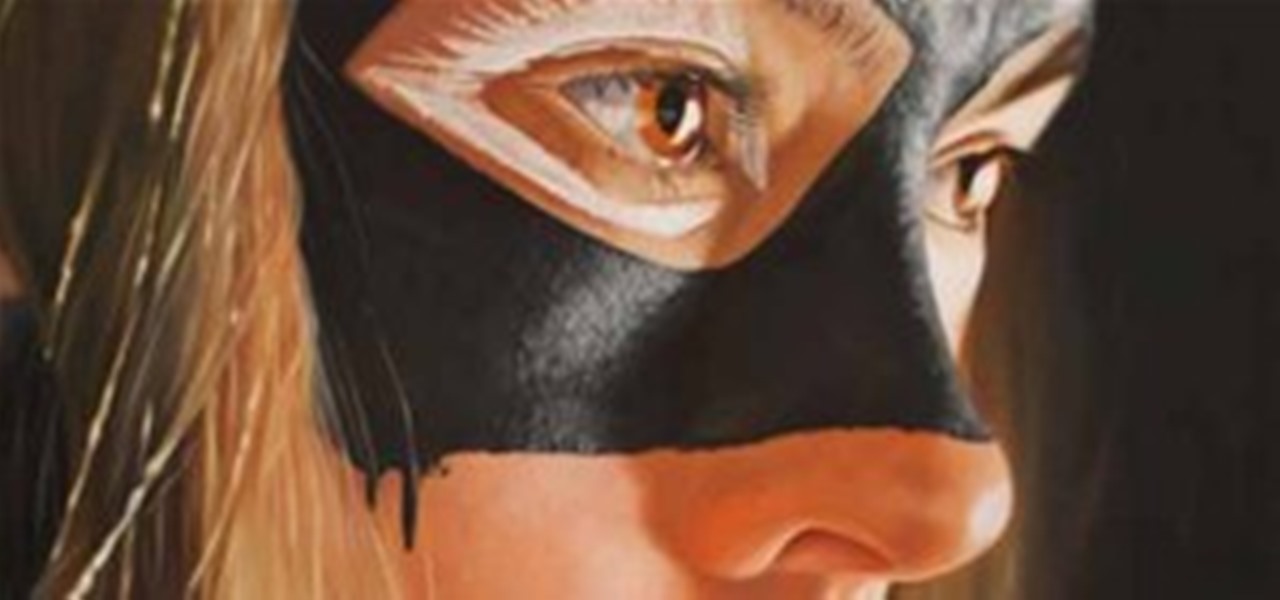
News: Kim Joon's Naked Body Art (Possibly NSFW)
Wow, naked + batman + tattoo/body painting = some pretty "out-there" art... Korean artist Kim Joon has been fascinated with tattoo culture ever since his days in the military as a young man. Since, he has taken his obsession into the fine arts realm, treating the human body like a blank canvas. Interestingly, his images are not created as one might expect. No physical painting of the models is actually involved.
News: Lasciviously Lathered in Superhero Body Paint
It's perhaps every male Comic-Con geek's lecherous daydream: Pretty girls slathered in bodypaint, but not just any design or pattern. Superhero bodypaint—a crest of Superman slashed across the chest, a mysterious mask enclosing sultry eyes, a Spiderman hand clutching at… ugh, I just creeped myself out. I sound like I'm composing an Anaïs Nin novel for Marvel geeks. I'm going to stop now so you can scroll down and see for yourself.
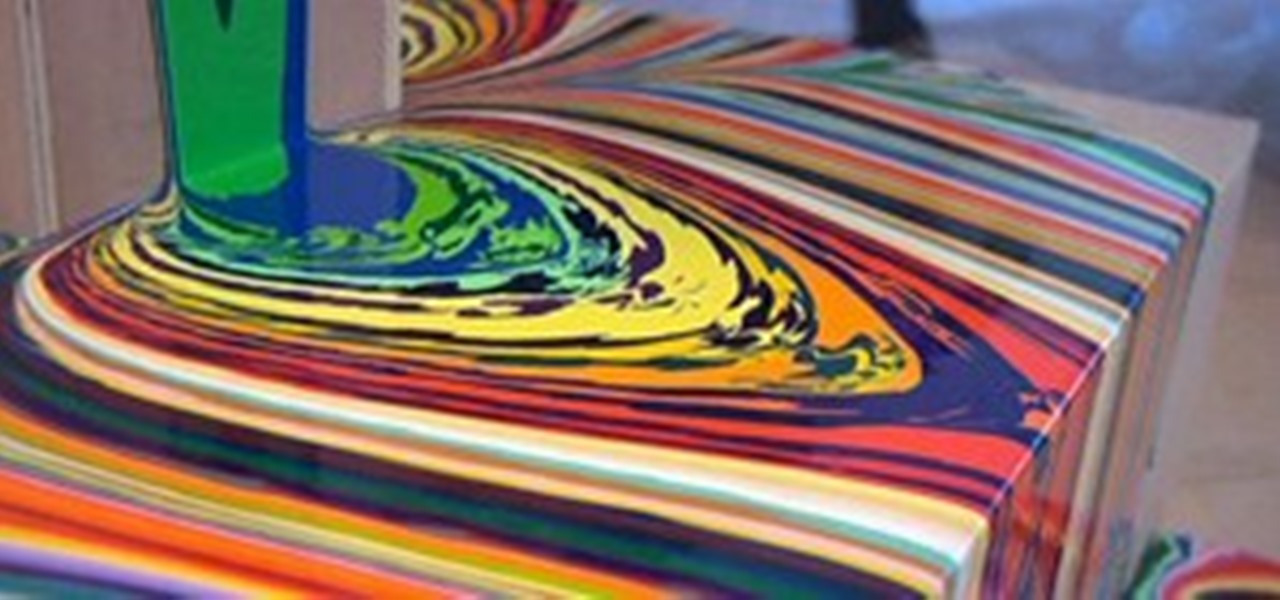
News: Pour! Paint Puddle Psychedelia
Holton Rower's Pour recalls the lysergic 1960s at their most saturated. So much so that, had Timothy Leary been an abstract expressionist, it's easy to imagine that his work might have borne more than a passing resemblance. The process is essentially self-evident: build a flat, geometrical sculpture and pour cup after cup of paint on it. Gravity does the rest. But, gee, what an effect! SOURCE Holton Rower via poppytalk.

News: Realist Painter of the Hollywood Stars (Yes, Those Are MJ's Spooky Eyes)
Sebastian Kruger is a German artist known for his "star caricaturist" paintings: stylistically exaggerated, realistically painted portraits of pop icons. My personal favorite depicts the classic Clint Eastwood stance (as Harry Callahan: Go ahead! Make my day!). Scroll below for the Stones, Tom Waits, Michael Jackson and more.
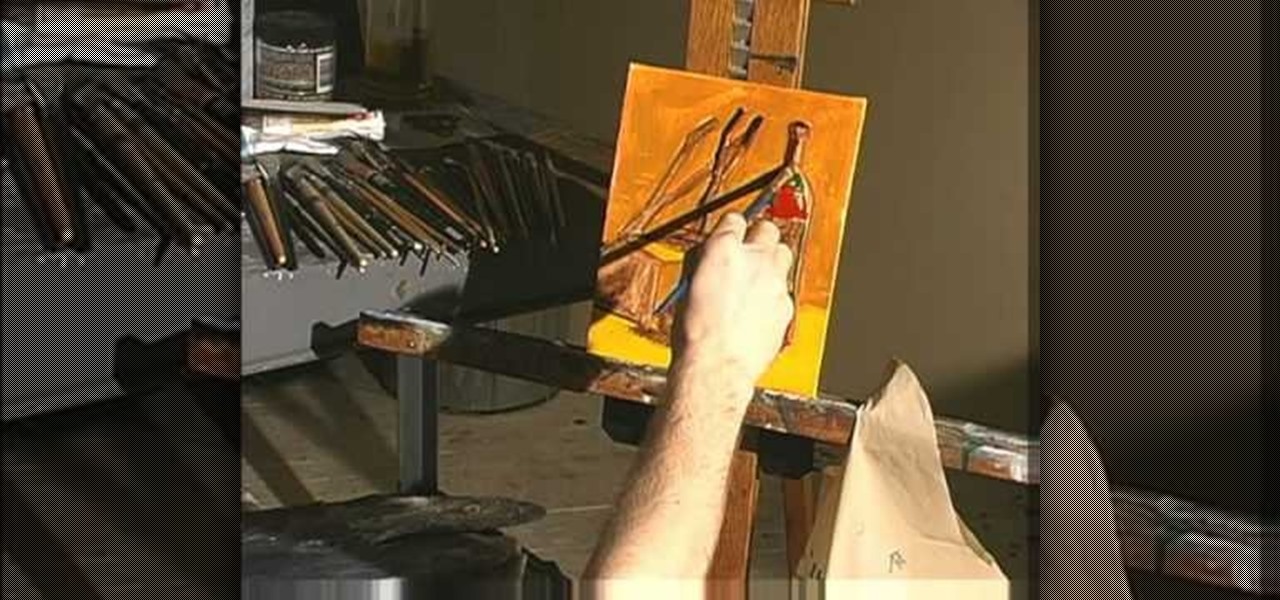
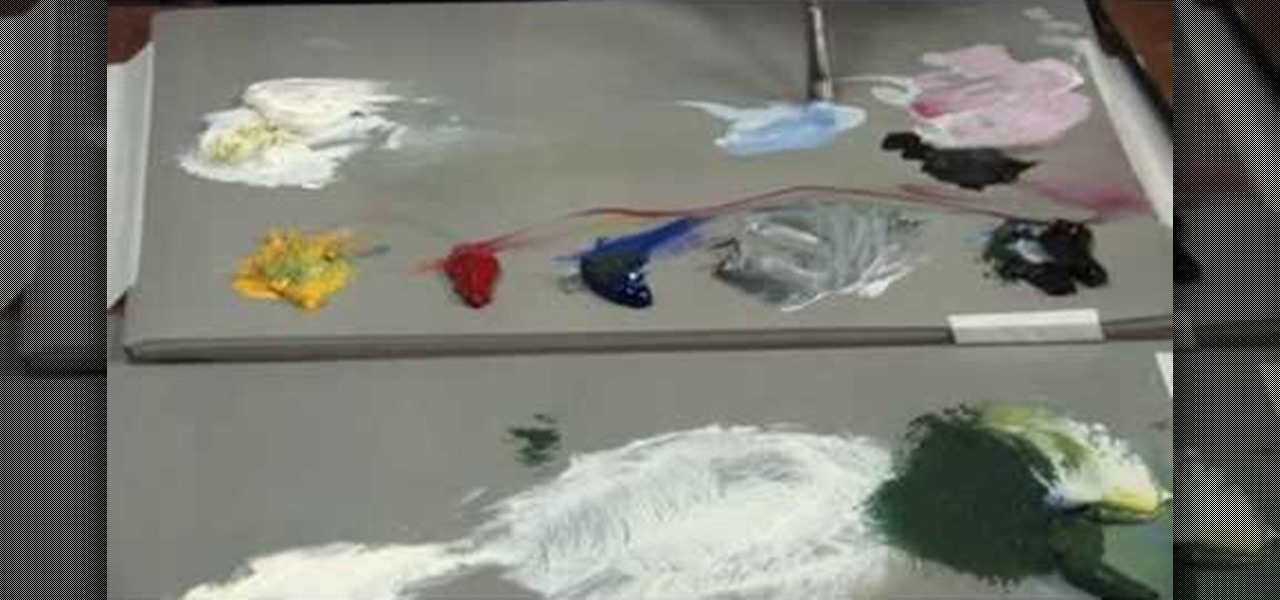
How To: Paint with oils
Looking to appease your creative side? Paint with oils! You Will Need:
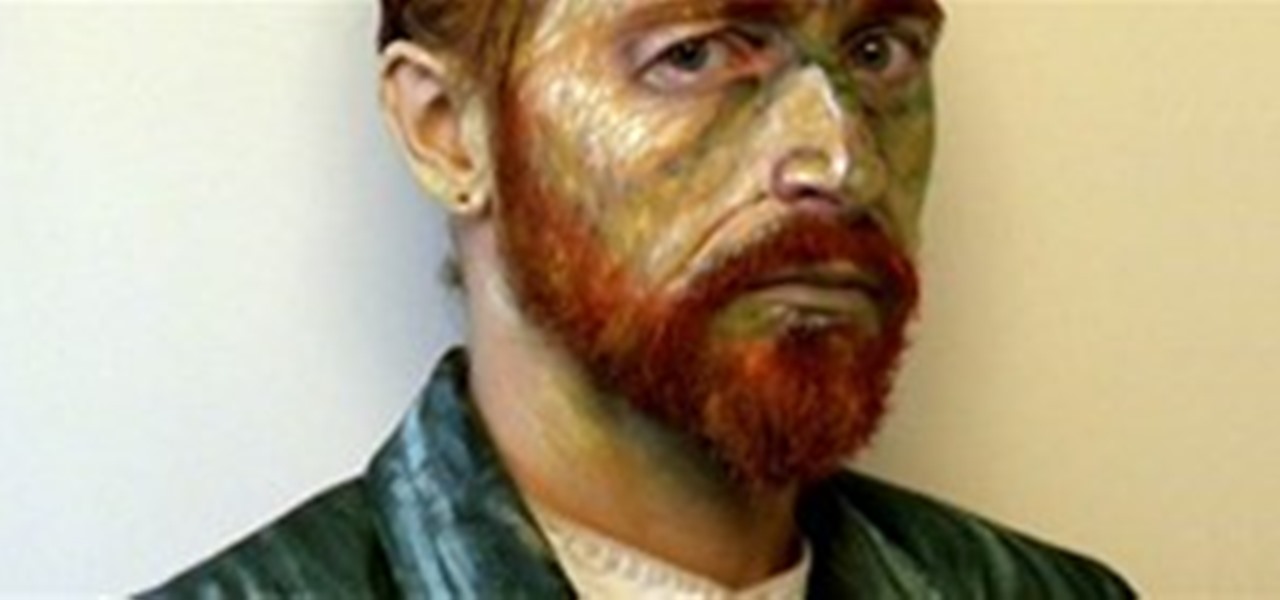
News: Vincent Van Gogh Rises From the Dead (Well, Sorta)
The formula goes something like this: crazy amazing "life painting" artist Alexa Meade x the genius idea behind Van Gogh Photoshop magic x some mad make-up skills = voilà, a living, breathing, hyperrealistic facsimile of our one-eared icon, Vincent.
How To: Mount a Chinese painting or Sumi-e ink drawing
This two part video shows you the materials needed to mount a Chinese painting. Chinese brush work leaves finished paintings a bit wrinkled and wavy. You will need a specific mounting brush and all purpose flour to make a mounting paste.
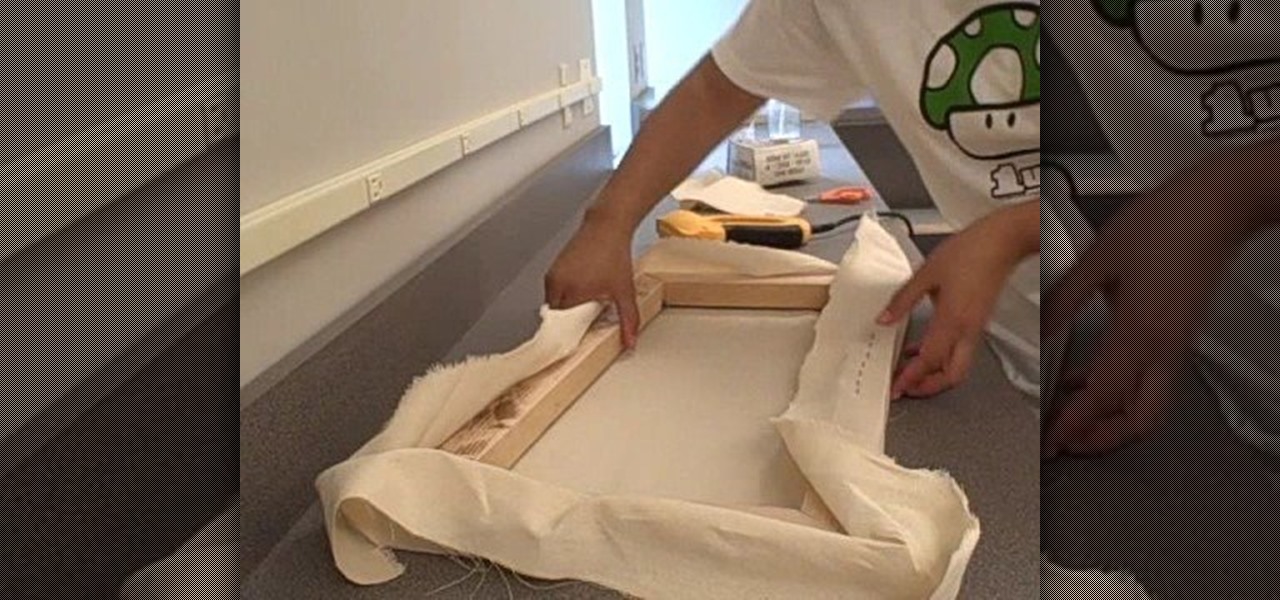
How To: Stretch your own painter's canvas
This video begins with an unfolded painter's canvas unfolded on a table and a frame which will be used to stretch and mend the canvas. The canvas needs to be laid beneath the wooden frame. The canvas must then be stretched over the sides of the wooden frame and then stapled into place. After the canvas has been stretched and stapled over the wooden frame you can pull the corners to tighten the canvas fabric. After the canvas is being stretched within the frame you must let it sit until it bec...
How To: Stretch a painting canvas
This video begins by showing what a folding painting canvas looks like and what the final stretched canvas should look like. The first step shown is to make sure the bars are measured and marked with a simple A and B for easy measurement recall. After a wood frame is added over the canvas you must fold the material over the back of the wood and nail in place. Once the canvas is nailed to the frame you must add A, B, C and D markings to continue proper alignment procedure. The last step shown ...
Next Page
Prev Page